Exposure · 8 min read
How to Use a Zone System Exposure Calculator
Translate a meter reading into intentional shadow and highlight placement with a practical Zone System exposure workflow.
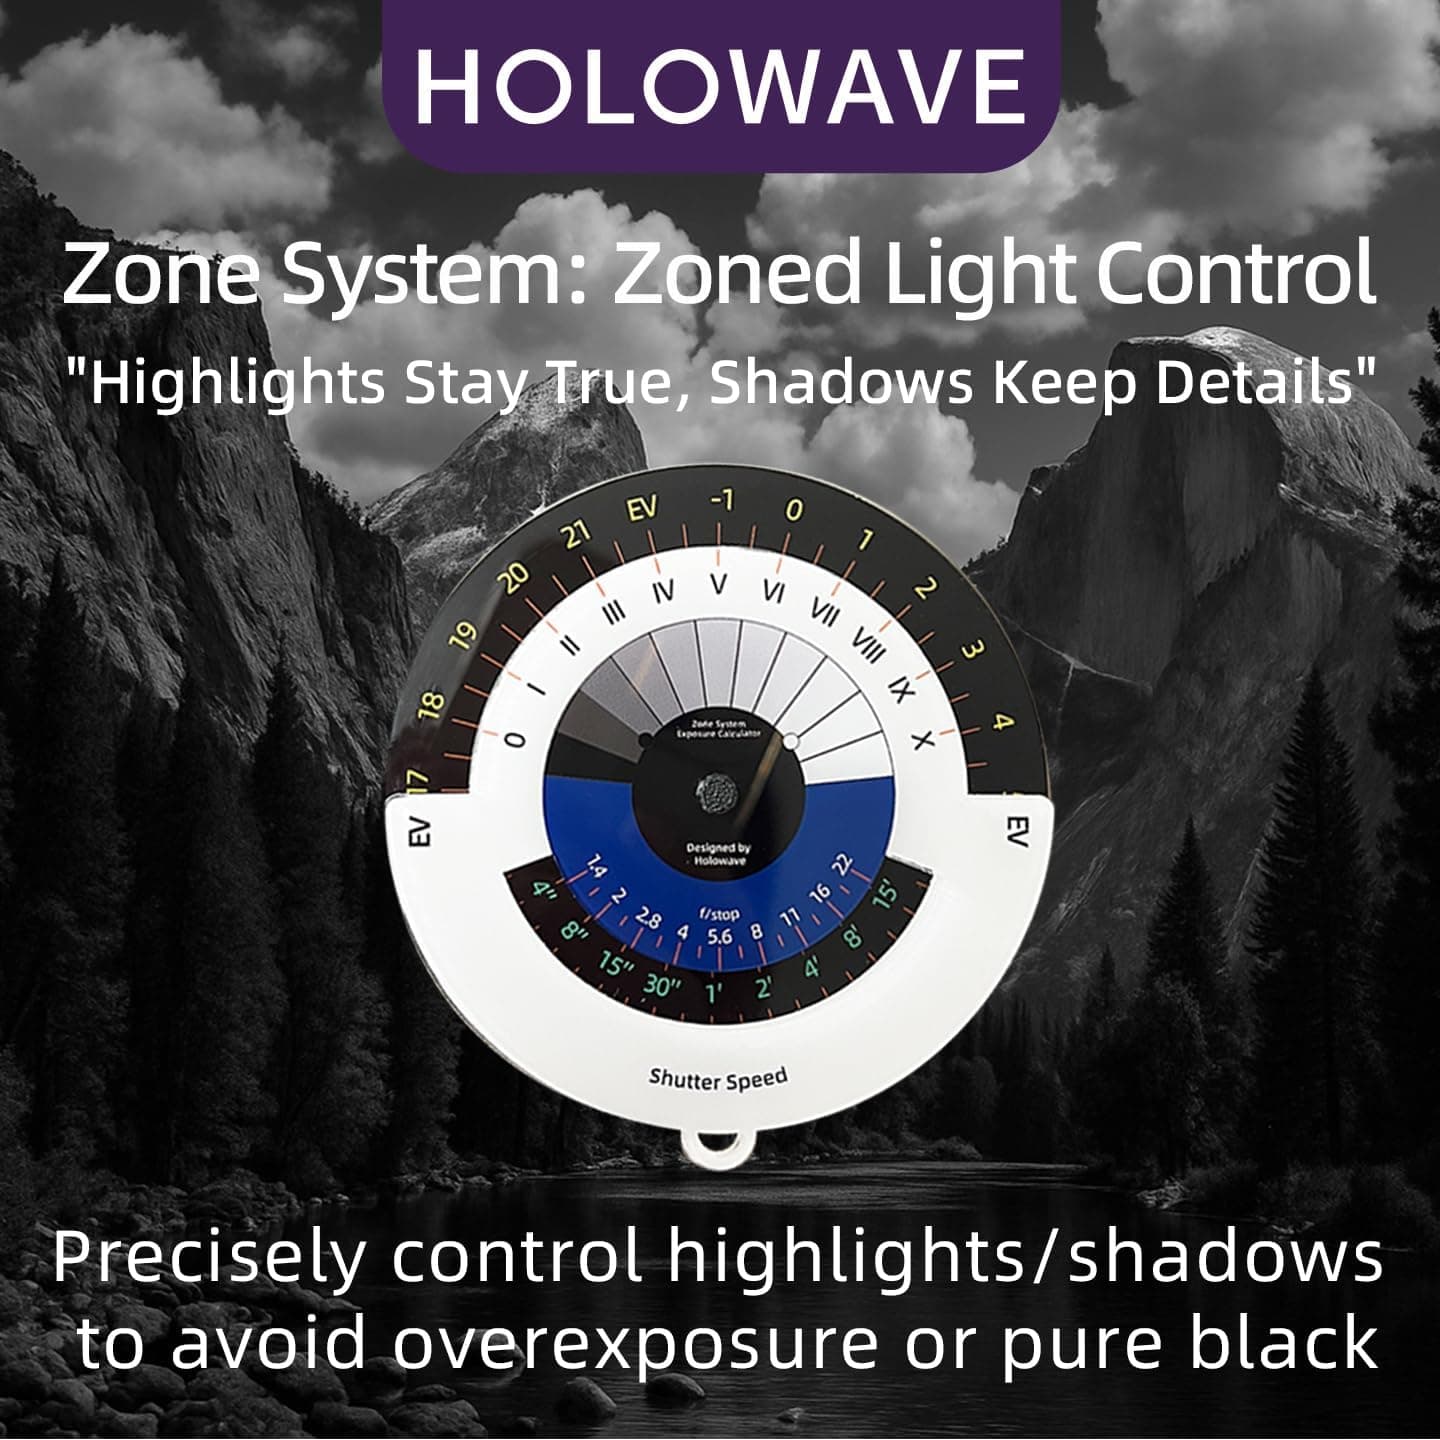
The Zone System is a way to connect measured light with the tone you want in the final image. Instead of accepting every meter reading as middle gray, you decide whether the measured area should appear dark, middle-toned, or bright. A Zone System exposure calculator helps translate that decision into practical aperture and shutter-speed combinations.
Understand the basic zones
Zones are commonly numbered from 0 to X. Each step represents approximately one stop. Zone V is the meter's middle-gray reference. Lower zones render progressively darker, while higher zones render brighter. In practical field work, photographers often place textured shadows around Zone III and textured highlights around Zone VII or VIII, depending on film, development, and the intended print or scan.
The system is a visualization tool rather than a promise that every material reproduces identically. Film stock, development, scanning, paper, and editing all affect the final tonal scale. Use zones to make repeatable decisions, then refine them through testing.
Measure the subject
- Set the meter to the film speed or exposure index you intend to use.
- Take a reflected spot reading from the specific shadow or highlight area you want to control.
- Note the EV, aperture/shutter pair, or meter recommendation.
- Decide which zone that measured area should occupy in the final image.
- Apply the required stop shift, then choose an equivalent aperture and shutter speed on the calculator.
A reflected meter assumes the measured area should be Zone V. If you meter a dark textured surface and want it on Zone III, reduce exposure by two stops from the meter reading. If you meter a bright surface and want it on Zone VII, increase exposure by two stops. The direction can feel counterintuitive at first: you are changing the meter's middle-gray interpretation to match your visualization.
Choose the exposure pair creatively
Once the intended exposure is established, use the calculator to view equivalent settings. Select a wider aperture when shallow depth of field matters, or a smaller aperture when foreground-to-background sharpness is important. Choose a faster shutter to stop motion and a slower shutter when motion blur is part of the image.
Equivalent pairs preserve the same exposure only within practical limits. Reciprocity failure may affect long exposures, and very fast shutter speeds or wide apertures can introduce equipment-specific variation. Consult the film data sheet for long-exposure compensation.
Check the subject brightness range
Measure both the important shadow and important highlight. Count the stop difference between them. This tells you whether the scene's brightness range fits the tonal range you expect the film and development process to hold.
With sheet film, photographers may adjust development for individual negatives. With 35mm or 120 roll film, every frame on the roll usually receives the same development, so large per-frame development changes are impractical. In that case, prioritize exposure for the important shadows, protect critical highlights when possible, and use scanning or printing controls to manage the result.
Build a repeatable field routine
- Visualize the final tonal relationship before reading the meter
- Meter a specific area rather than averaging the entire scene
- Write down film, EV, zone placement, exposure, and development
- Compare notes with scans or prints after processing
- Test one film and developer combination before generalizing
Frequently asked questions
Questions about this workflow
Do I need a spot meter to use the Zone System?
A narrow spot meter makes precise placement easier, but you can learn the principles with a camera meter by moving close to the target area or using a meter with a selective reading mode.
Which zone should hold shadow detail?
Zone III is a common starting point for dark areas with visible texture. Your film, processing, scanner, and desired look may shift that choice.
Does the Zone System work with digital cameras?
The visualization and spot-metering concepts do. Digital capture usually prioritizes protecting highlights, while negative film workflows often emphasize sufficient shadow exposure.