Camera Technique · 7 min read
Waist-Level vs Eye-Level Viewfinders
Compare camera height, subject interaction, composition speed, stability, and practical uses of waist-level and eye-level viewfinders.
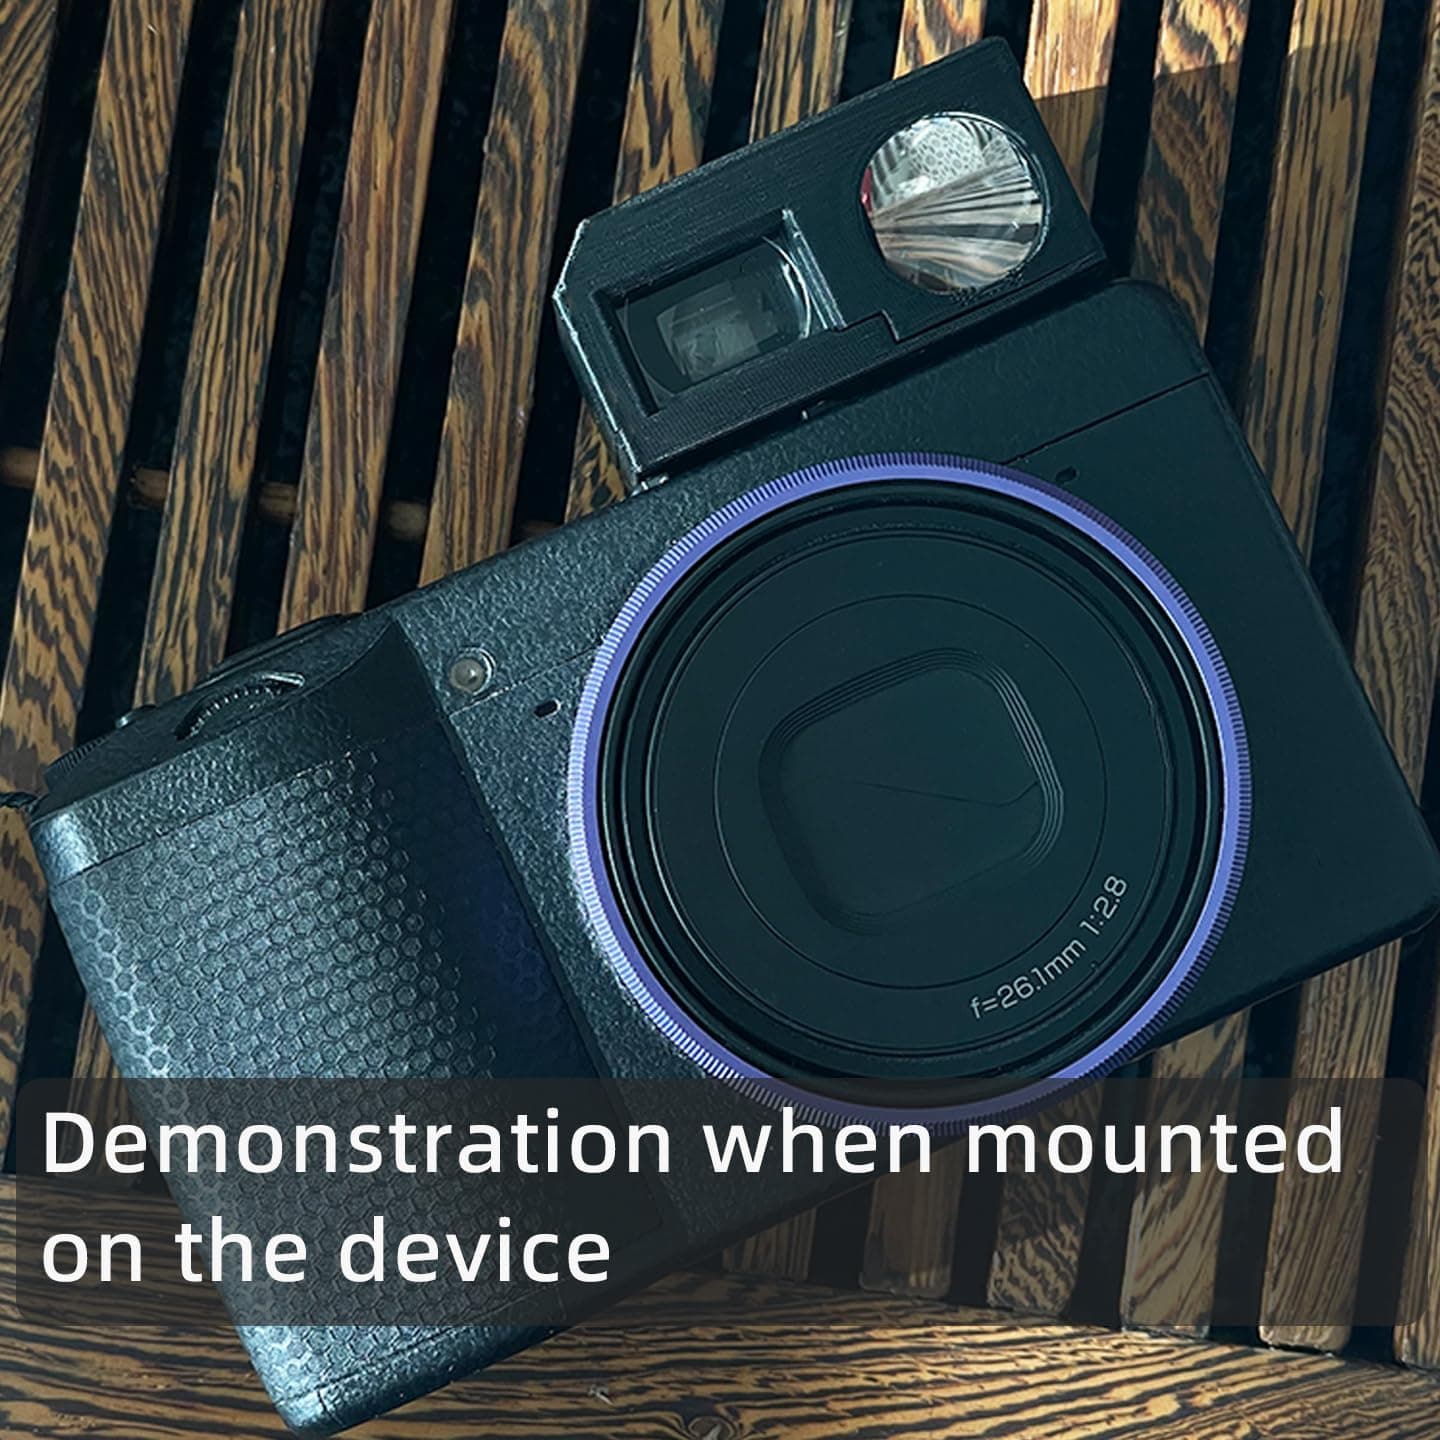
A viewfinder does more than show the frame. It determines camera height, body position, shooting rhythm, and how visible the photographer is to the subject. Eye-level viewing is direct and fast; waist-level viewing can be quieter and can reveal compositions that disappear when every photograph is made from standing height.
How eye-level viewing changes the photograph
With an eye-level finder, the camera follows the photographer's line of sight. This feels natural for action, travel, portraits, and situations where the frame must be acquired quickly. Pressing the camera gently against the face can add a point of support and help stabilize slower shutter speeds.
The tradeoff is predictability. Repeatedly photographing from normal standing eye height can make perspective feel familiar. Raising a camera to the face is also an obvious gesture, so people may change expression or posture as soon as they notice it.
How waist-level viewing changes the photograph
A waist-level finder places the camera lower, often around the photographer's chest or waist. The lower viewpoint can give foreground objects more presence, simplify backgrounds against the sky, and create a visual relationship closer to a seated person or child.
Looking downward rather than directly at the subject may feel less confrontational. It can support candid street work and more relaxed portraits, although respectful photography still requires awareness and, when appropriate, consent. The lower position also encourages deliberate framing because small camera movements noticeably change the composition.
Compare the practical differences
- Speed: eye-level is usually faster for moving subjects
- Discretion: waist-level can be less visually assertive
- Perspective: waist-level produces a naturally lower camera position
- Stability: eye-level gains facial support; waist-level can brace against the torso
- Orientation: some waist-level systems are easiest in horizontal framing
- Display behavior: optical designs may differ in brightness, magnification, and image orientation
Choose the right mode for the scene
Use eye-level viewing when timing, precise subject tracking, or quick vertical composition matters. Sports, active children, wildlife, and rapidly changing street scenes often benefit from the direct alignment between eye, finder, and lens.
Try waist-level viewing for low-angle street scenes, quiet documentary work, environmental portraits, architecture with strong foregrounds, and situations where holding the camera to your face would interrupt the moment. It is also useful when the camera is placed close to the ground or above a crowd and the finder allows an alternate viewing angle.
Practice switching intentionally
- Photograph the same static scene at eye level and waist level without changing focal length.
- Compare foreground size, horizon position, background separation, and vertical convergence.
- Repeat with a person in the frame and notice how camera height affects the relationship.
- Practice focusing and framing until the alternate view no longer slows you down.
- Choose the viewpoint for visual reasons, not simply because one mode feels novel.
Frequently asked questions
Questions about this workflow
Is a waist-level viewfinder better for street photography?
It can be quieter and gives a distinctive lower viewpoint, but eye-level finders are often faster. The better choice depends on the scene and your working style.
Does a waist-level finder reverse the image?
Some traditional reflex finders show a laterally reversed image, while accessory optical designs vary. Check the specific finder and practice before relying on it for fast action.
Can an accessory finder guarantee exact framing?
Framing accuracy depends on finder design, focal length, aspect ratio, distance, and parallax. Treat frame lines as a guide and learn the behavior through testing.