Film Scanning · 7 min read
A Beginner's 35mm Film Scanning Workflow
A practical US home-scanning workflow for preparing 35mm negatives, reducing dust, checking focus, and saving consistent digital files.
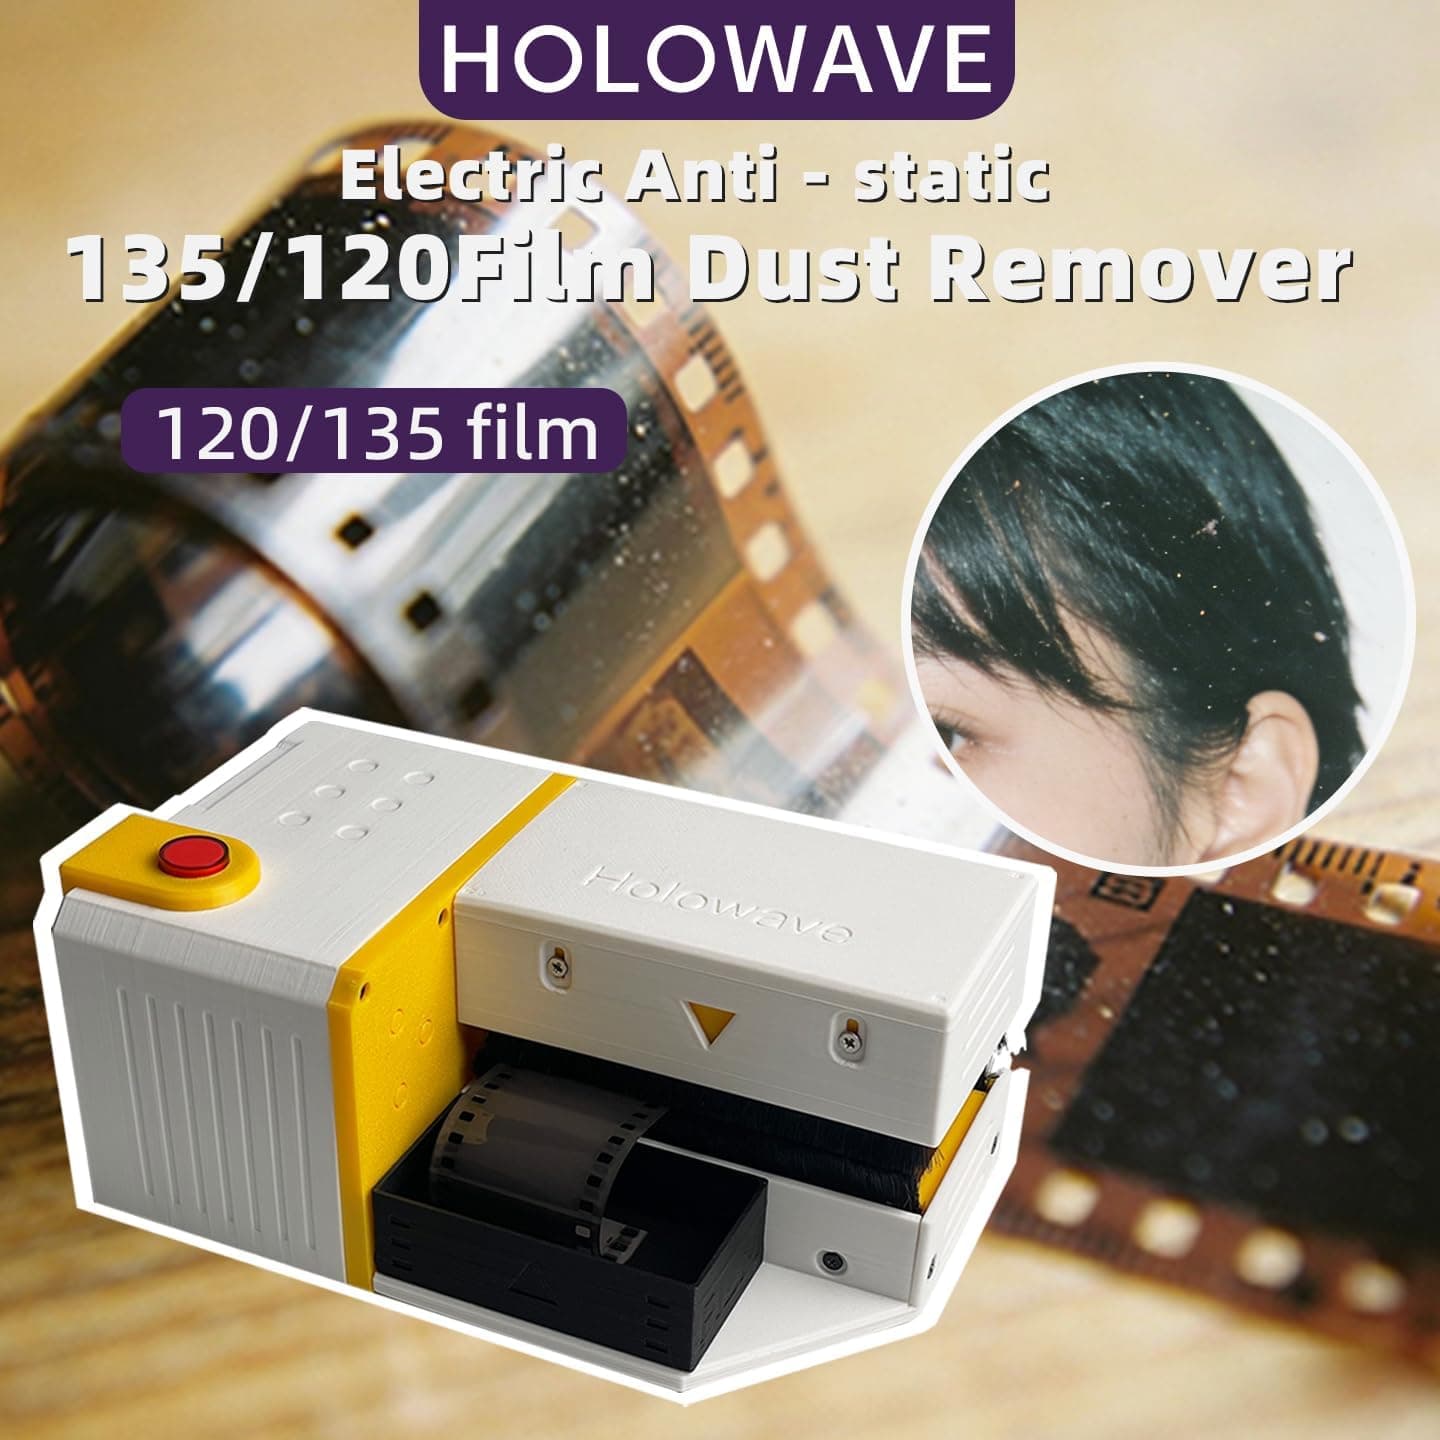
Good film scans come from a repeatable preparation routine, not from fixing every defect in software. Before scanning a full roll, clean the workspace, remove loose dust from the negative and holder, and make one test scan at the final resolution. The workflow below suits common home scanners and DSLR scanning setups used by film photographers in the United States.
Clean the scanning area first
Turn off nearby fans and avoid working beneath an air vent. Wipe the scanner glass, film holder, and surrounding surface with materials approved for those parts. Let airborne dust settle before opening the negative sleeve.
Keep food, drinks, and fabric lint away from the setup. A clean environment reduces the number of times you need to touch the film and makes software dust removal more effective.
Prepare the negative with least-contact handling
- Hold the strip by its edges and inspect both sides under angled light.
- Use a manual air blower to move loose particles away from the film.
- Use a clean antistatic film brush only when the tool is designed for light film contact.
- Clean the holder separately before loading the strip.
- Load the negative and scan promptly so new dust has less time to settle.
Do not blow on film with your mouth, wipe the emulsion with a household cloth, or use canned air that may leave liquid propellant. If a mark is bonded to the surface, more brushing can create a scratch; use a controlled film-cleaning method instead.
Make one test scan
Scan a frame with shadow, highlight, and fine detail before processing the entire roll. Check focus, cropping, film orientation, color balance, and dust at 100 percent. If a defect repeats in the same location across several frames, inspect the scanner path or holder rather than cleaning every negative again.
Save the test with a clear filename that includes the roll number, frame number, and scan resolution. A consistent naming system makes it easier to compare edits and find the original negative later.
Keep a consistent file and storage routine
- Use one folder per roll and preserve the original scan before editing
- Record film stock, exposure index, scanner, and resolution
- Return each strip to its labeled sleeve after scanning
- Back up the original files before making large edits
Frequently asked questions
Questions about this workflow
Should I scan at the highest possible resolution?
Use a resolution that matches the film, scanner, and intended output. A clean, well-focused scan at a sensible resolution is more useful than a large file full of dust and missed focus.
Why does dust come back after I clean the negative?
Static charge, a dirty holder, and moving air can attract particles again. Clean the holder, slow the workflow, and load the film soon after preparation.
Can software remove all film dust?
Software helps with some defects, but physical cleaning preserves detail and reduces retouching. Infrared dust removal also has limitations with many traditional black-and-white films.