Film Handling · 6 min read
How to Use a 35mm Film Cutter Without Damaging Negatives
Learn how to cut developed 35mm film into clean, scanner-ready strips while protecting frame edges, perforations, and the emulsion.
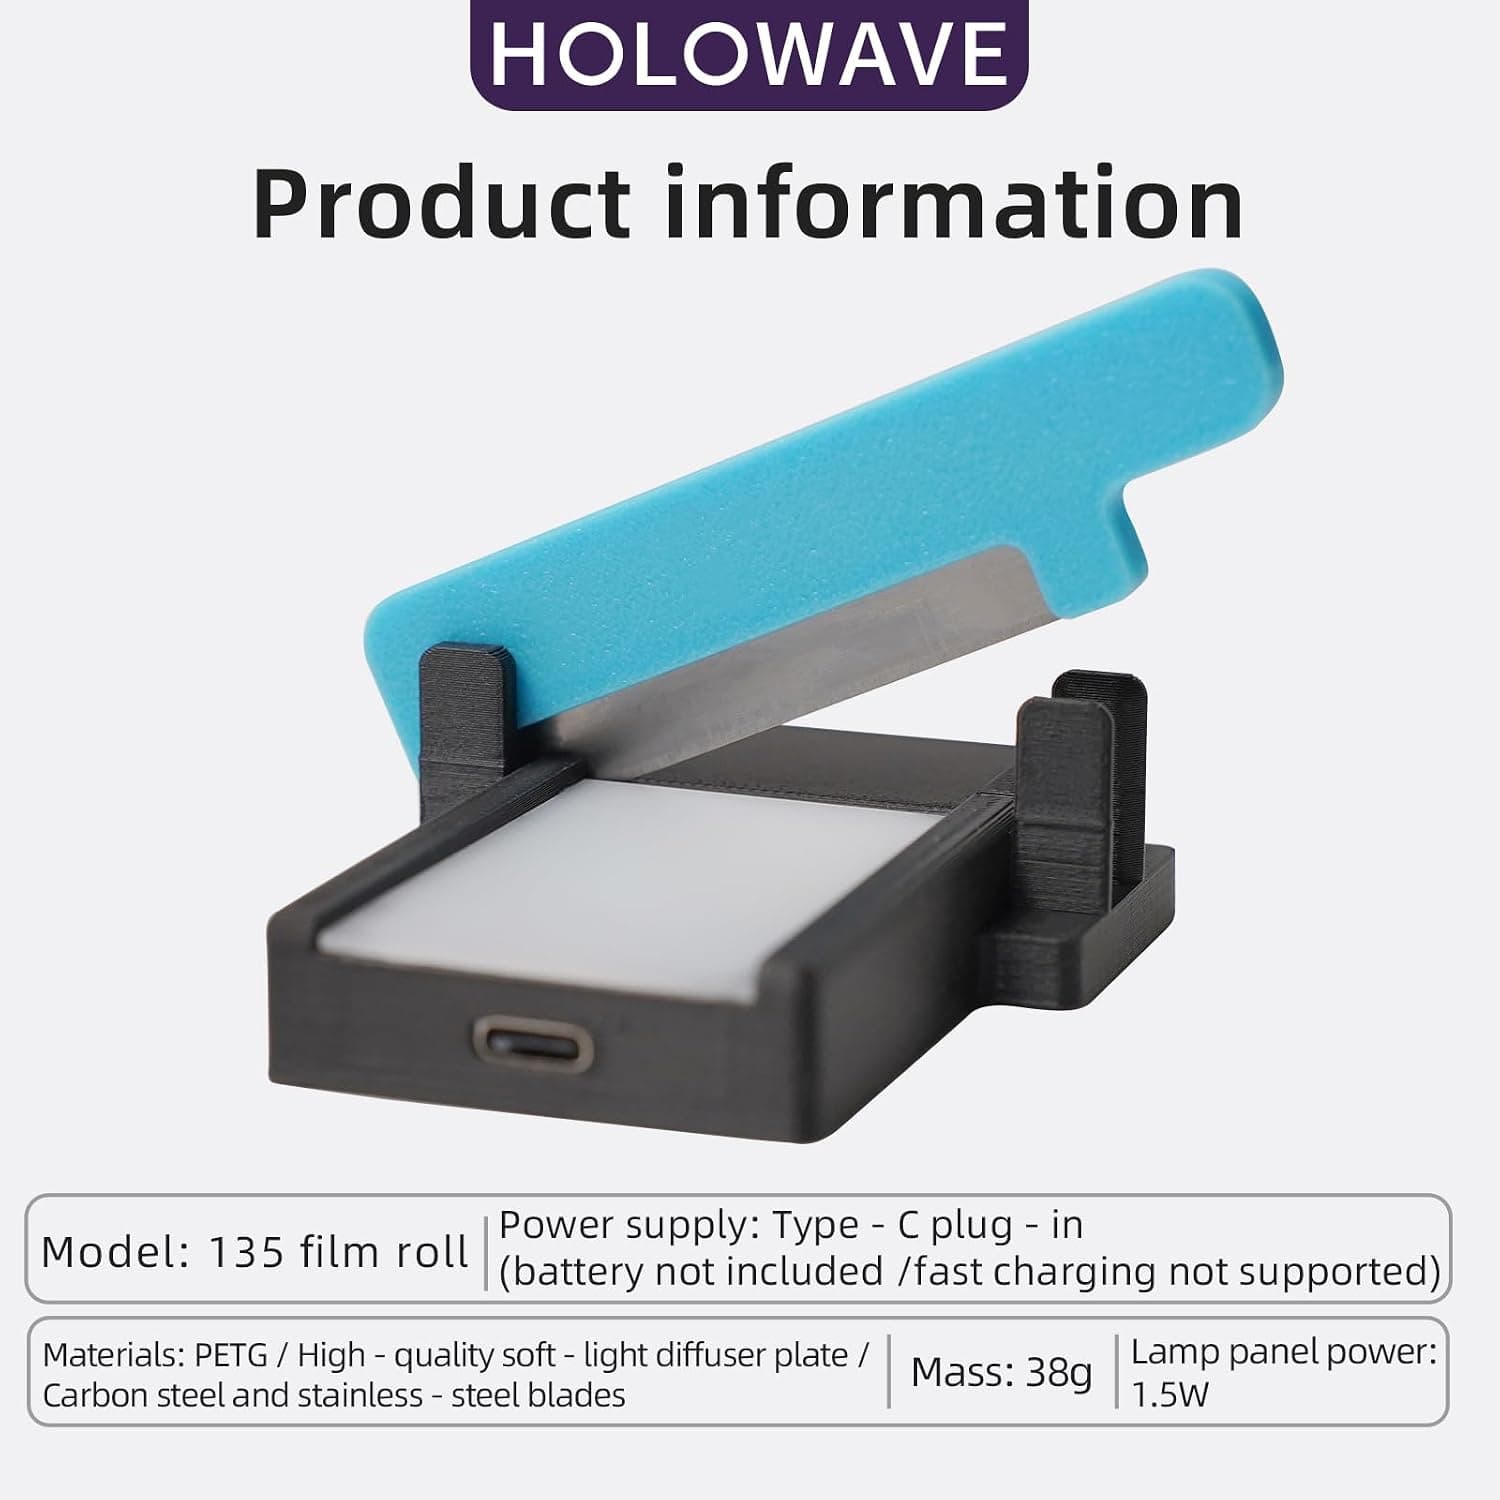
A 35mm film cutter is useful when you want consistent strips for archival sleeves or a film scanner. The safest workflow is slow and repeatable: let the film dry completely, identify the actual frame gap, and cut only after both neighboring frames are visible. This guide is written for home darkroom and scanning workflows in the United States.
Prepare the film and workspace
Work in a clean, dry area with soft, even light. Developed film should be fully dry before cutting; a tacky emulsion can pick up marks or stick to a guide. Wash and dry your hands, then hold the strip by the perforated edges rather than the image area.
Set out the cutter, archival sleeves, a manual blower, and a label before opening the roll. Preparing the storage materials first prevents loose negatives from sitting on the desk while you search for supplies.
- Clean, fully dry 35mm film
- A film cutter with a visible alignment guide
- Archival negative sleeves matched to your filing system
- Manual air blower and a clean antistatic brush
Align the frame gap, not just the sprocket holes
Place the strip over a light table or diffuse backlight and find the transparent space between exposures. Sprocket holes help you keep the film square, but they are not a substitute for checking the image boundary. Camera spacing and the final frame can vary.
If the gap is hard to see, tilt the strip slightly or block stray room light. When the frame boundary is uncertain, leave the frames connected. A longer strip is safer than cutting into a photograph.
Make clean, consistent cuts
- Lay the film flat without pulling it under tension.
- Check the frame on both sides of the proposed cut.
- Keep the strip square to the cutter guide.
- Make one deliberate cut instead of repeatedly trimming the edge.
- Inspect the new edge before placing the strip in a sleeve.
Five- or six-frame strips are common for many US archival sleeves and scanner holders, but the correct length depends on your equipment. Choose one length for the roll and keep it consistent so the negatives are easier to file and scan later.
Store the cut strips immediately
Use a blower to remove loose particles, then sleeve each strip promptly. Keep the emulsion orientation consistent and label the page with the roll number, film stock, date, and frame range. Store sleeves upright in a cool, dry, dark location away from heat and moisture.
Frequently asked questions
Questions about this workflow
How long should a 35mm film strip be?
Match the strip length to your scanner holder and archival sleeve. Five or six frames is common, but consistency and safe frame spacing matter more than a universal length.
Can I cut film while it is still slightly damp?
No. Let the film dry completely first. Damp or tacky emulsion is more vulnerable to marks, residue, and sticking.
What if the frame gap is difficult to see?
Use diffuse backlighting and change the viewing angle. If the gap remains uncertain, leave the frames connected instead of risking an image cut.